
Converting a VMware virtual machine to Hyper-V
tl;dr
- Download and install Microsoft Virtual Machine Converter 3.0
- Import MVMC module into PowerShell
- Convert individual VMDK hard drives to VHDX
- Create new Hyper-V virtual machine and attach existing VHDX
Why is it so hard?
I use VMware Workstation at work, running on Windows 7. I paid for Workstation a few years ago as I was desperate for some features. I’ve been using it at work ever since out of habit and to be honest, it is pretty good. However, at home, I run Windows 8.1 and use Hyper-V (because I can, and it is already there). I wanted to copy my main development VM from work to use at home and I thought this would be easy. Hah!
Well, it is relatively straight forward, but I spent a lot of time bashing my head against the desk, perplexed as to why Hyper-V just doesn’t import the damn thing and convert it!
These steps allow you to convert the VM without requiring ESX, ESXi or vCenter.
1. Download the virtual hard drive conversion tool
First thing you need to do is get the Microsoft Virtual Machine Converter 3.0 (MVMC) from the Microsoft Download Center. This has an MSI that installs a pretty GUI program and some PowerShell cmdlets.
Don’t try the GUI. This only works with ESX or vCenter.
2. Convert the VMDK files to VHDX
Open a PowerShell command prompt.
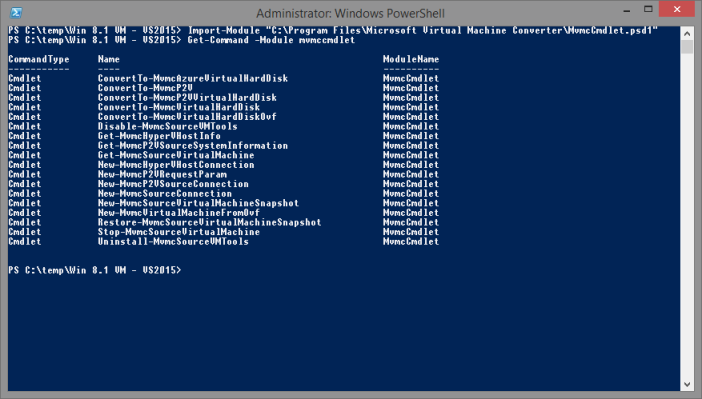
Register the PowerShell module that was installed with MVMC. You can do that with the command:
Import-Module "C:\Program Files\Microsoft Virtual Machine Converter\MvmcCmdlet.psd1"
Verify the import by listing the commands:
Get-Command -Module mvmccmdlet
You should see something like this:
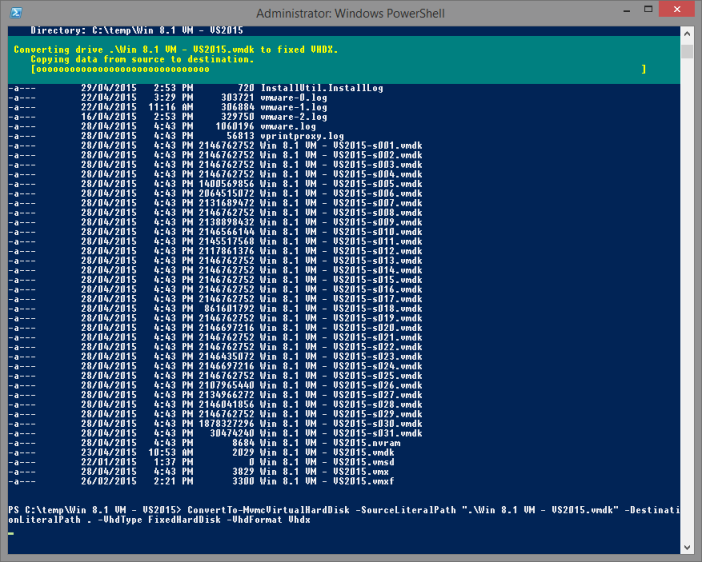
Change the current directory to the location of the VMDK file(s) to convert and enter the following command to create a new VHDX file (converted from the VMDK) in the same folder.
ConvertTo-MvmcVirtualHardDisk -SourceLiteralPath ".\Win 8.1 VM - VS2015.vmdk" -DestinationLiteralPath . -VhdType FixedHardDisk -VhdFormat Vhdx
This conversion may take a while; it took between 30 and 40 minutes (I think - I walked away) for a 60GB disk on a Samsung 940 EVO SSD. You get a progress bar across the top of your command window if you really want to sit and wait!
3. Create a new Hyper-V Virtual Machine
Move the newly created VHDX to its new home. On my machine this is set to:
C:\Users\Public\Documents\Hyper-V\Virtual hard disks
Open Hyper-V Manager and create a New Virtual Machine. Follow the wizard through, but when you get to the Connect Virtual hard Disk section, select Use an existing virtual hard disk and browse to the location of the VHDX file that you created.
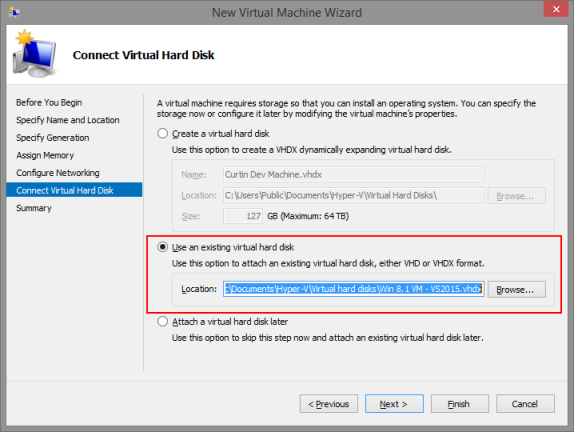
Continue and complete the wizard - you’re done!